

Headlight restoration DIY
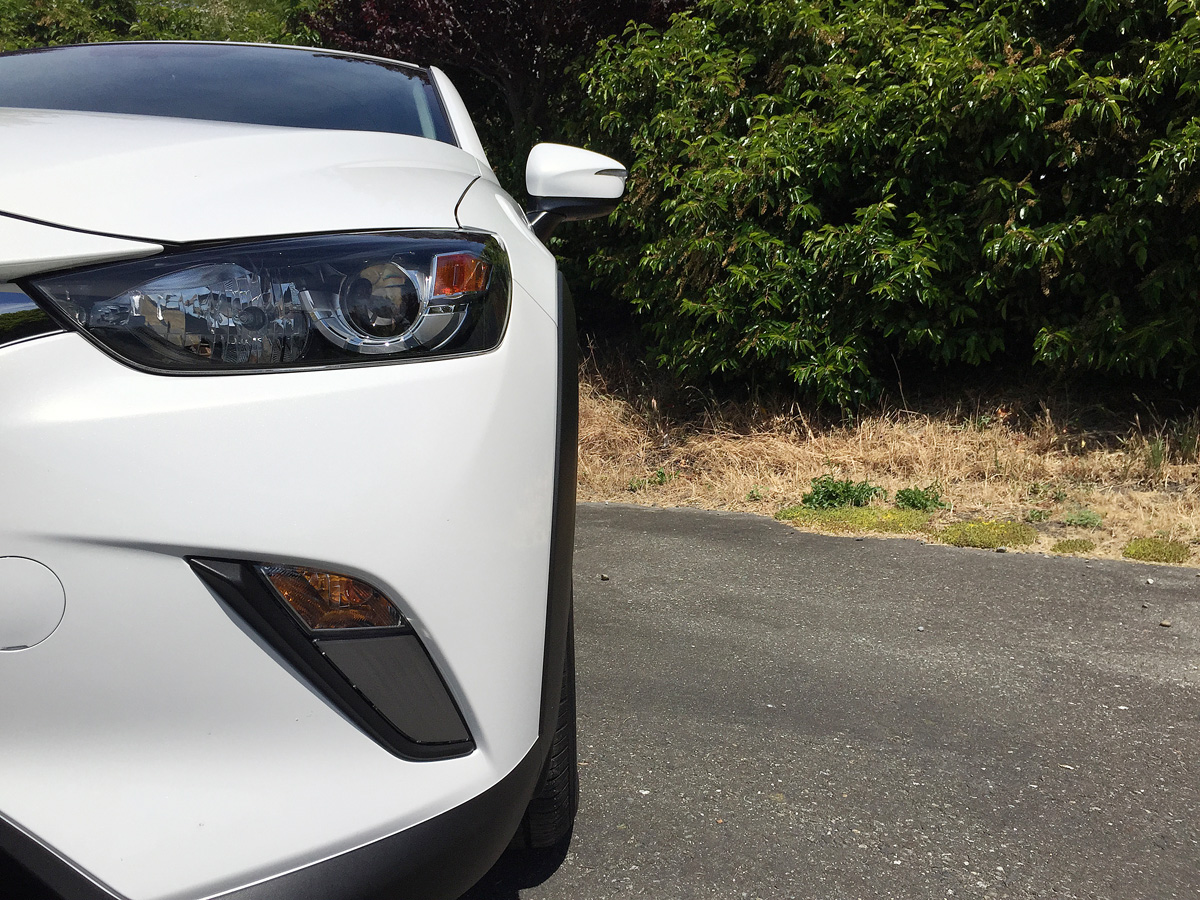

Did you know that most vehicle headlights nowadays aren’t made of glass, but polycarbonate plastic? Benefits include more or less the same look with less weight, and increased resistance to scratches and stone chips. However, plastic is susceptible to the effects of UV rays that can eventually cause the outer lens to become cloudy and yellowed. Not only is this unattractive, but it can also degrade the performance of the lights themselves, which needless to say is a safety hazard. Regular soap and water won’t fix the problem, but fortunately the cure is usually inexpensive and something you can do at home.
DIY kit
The first thing you will need is a headlight cleaning or restoration kit offered by any number of auto detailing supply companies. Rain-X offers such a kit that includes three grades of superfine sandpaper designed to remove the haze obscuring the headlights; a polish that smooths out any minor scratches and other imperfections; and a sealant that offers a final layer of protection.

Instructions
Before you do anything, take some painters or electrical tape and mask off a small area around the headlights so you don’t accidentally sand part of your fender or hood.
1. Clean the headlights — an ideal time to attempt this procedure is after washing your car.
2. If using the Rain-X kit, spray the supplied lubricant onto the entire lens of one headlight, and then take the first indicated grade of sandpaper and sand across the surface in the same direction, ensuring lubrication is constant. Work one area at a time until complete, and then repeat with the next two grades, in order, before moving onto the other side.
3. Squeeze some of the polish onto a clean, dry cloth and apply directly onto the headlight in a back and forth motion, ensuring you cover the whole surface. Switch sides.
4. Take the bottle of sealant and spray evenly onto both lenses. Wipe off any excess dripping.
5. Allow the solution to dry before taking the car back on the road.
Start to finish takes approximately 30 minutes, or less. The plastic should stay clear for quite some time after the restoration, and you can repeat this process anytime oxidation rears its ugly head again.