How-To: Change an Engine Air Filter
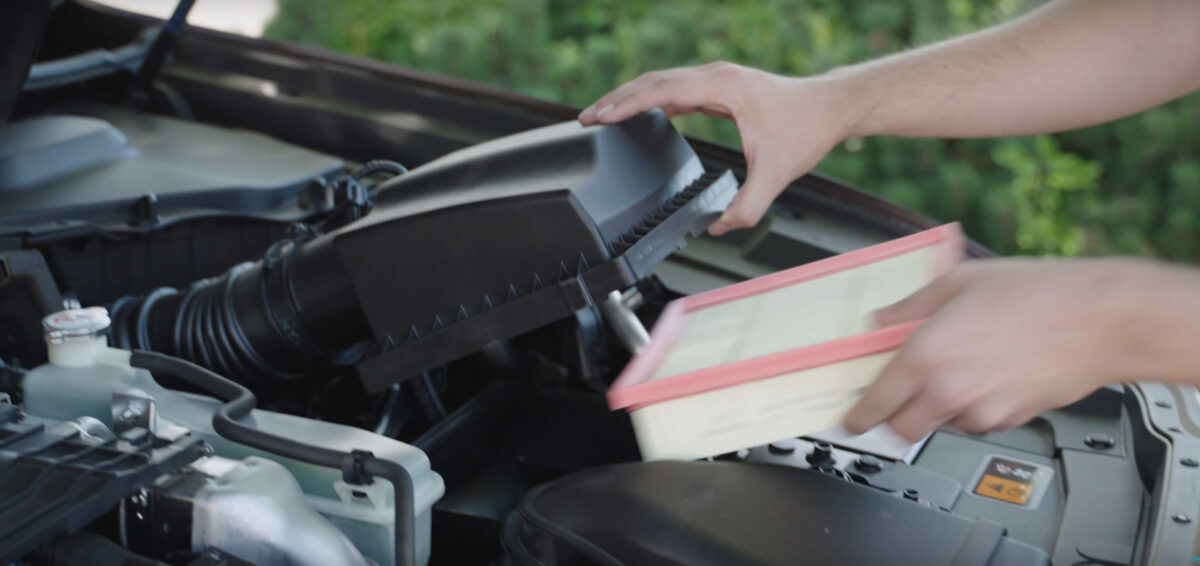
Just like us, a car breathes in air every time the engine is turned on. And just like our lungs, an engine can get damaged if debris gets inside of it. To prevent the bad stuff from getting in, cars use an air filter to block the harmful contaminants from getting in.
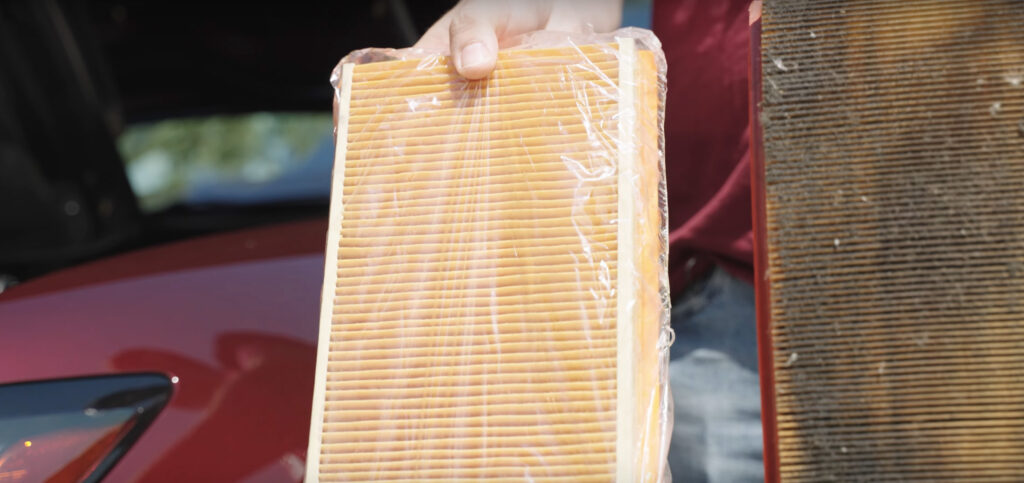
There are many different air filters out there. Most are specifically designed for your vehicle make & model. The easiest way to get the right part is to call or visit your local OpenRoad parts department and the parts advisor will assist in finding you the right air filter. As for tools, most vehicles don’t require them, but some may require a flat head or Phillips screwdriver.
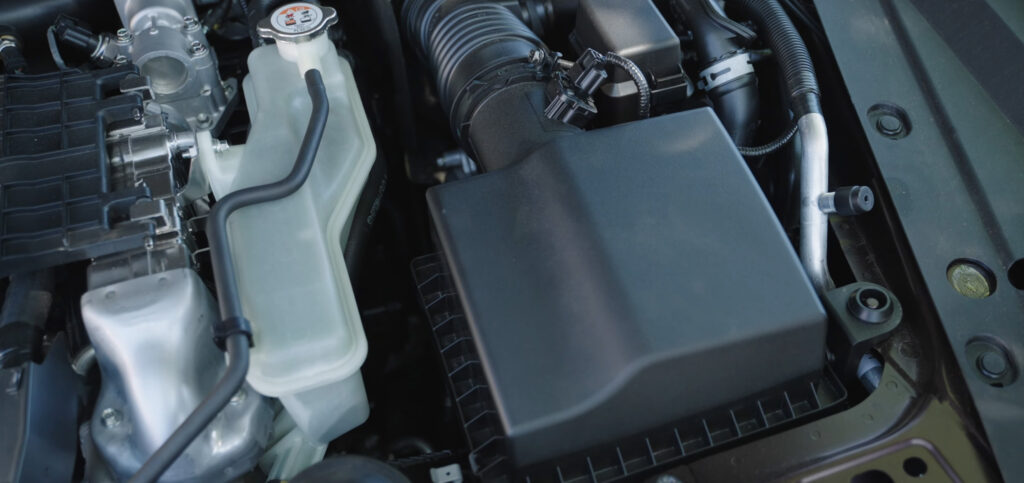
To start, turn the car off and pop open the hood. Look for a big black box under the hood. It’s usually to the side of the engine. Most vehicles have clips that can be undone with your fingers on all four corners of the air box. Some vehicles will have screws holding the top of the air box. Simply undo the clips or screws and you should be able to lift the lid of the air box just enough to pull the air filter out.
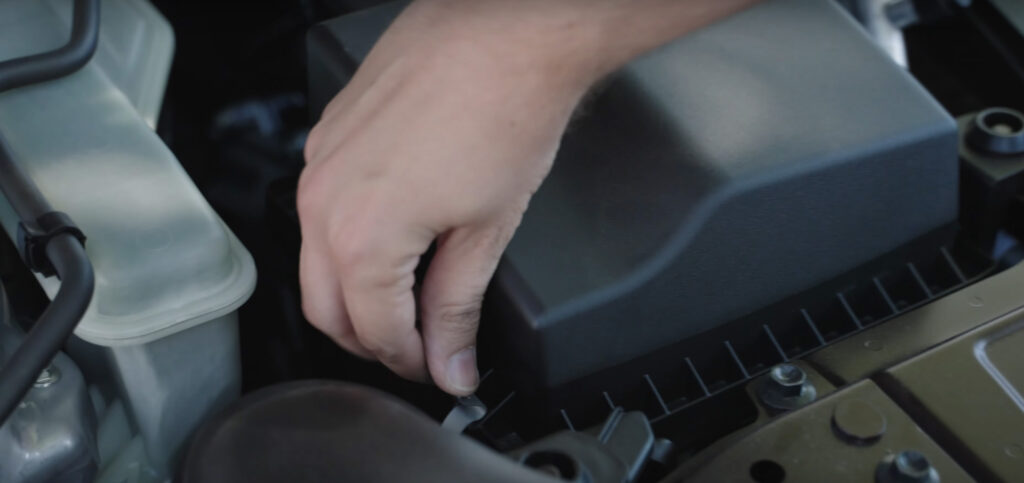
If you have an older vehicle, don’t pull the lid too much as the plastic tube that the lid is connected to can get brittle over time and could develop a crack.
Once the air filter is out, double check to make sure that it is the same size as the new filter and simply slide it into the lower portion of the air box. Then clip on or use the screws to secure the top of the box.
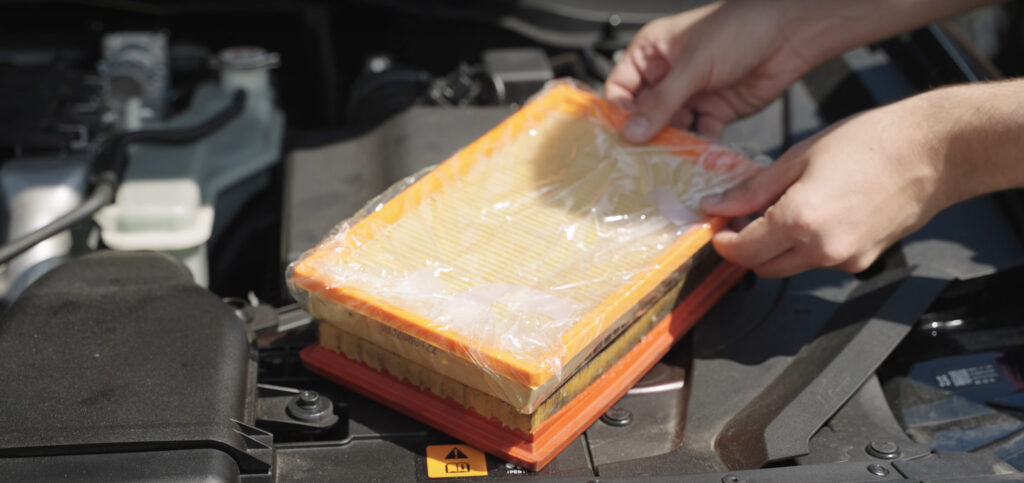
And that’s it. That is how simple it is to change an air filter. A new air filter should last for approximately 20,000 km but if you drive often on dirt roads where dust is prevalent, you’ll want to check the condition of the air filter more often and change it if it looks too dirty. A clogged air filter will reduce the amount of air the engine receives which in turn reduces power and increases fuel consumption.

